Koji 101
my go to method for consistent rice koji at home


Kenji Morimoto is a London-based Japanese American food writer and content creator who specializes in fermentation. He draws from his cultural heritage to teach, write, and share culinary knowledge through various platforms, including his popular Instagram @kenjcooks and his upcoming book "Ferment."
Kenji Morimoto
•
March 4, 2026
Making koji at home is a multi-day journey that quickly becomes an intuitive craft as you get familiar with the unique textures, scents, and humidity requirements of the process. While it may seem complex at first, success comes from learning how your specific environment dictates the best approach. For me, finished koji has a distinct, beautiful aroma of mango and chestnut.
Below is my basic home-grow method, refined through time and a bit of trial and error.
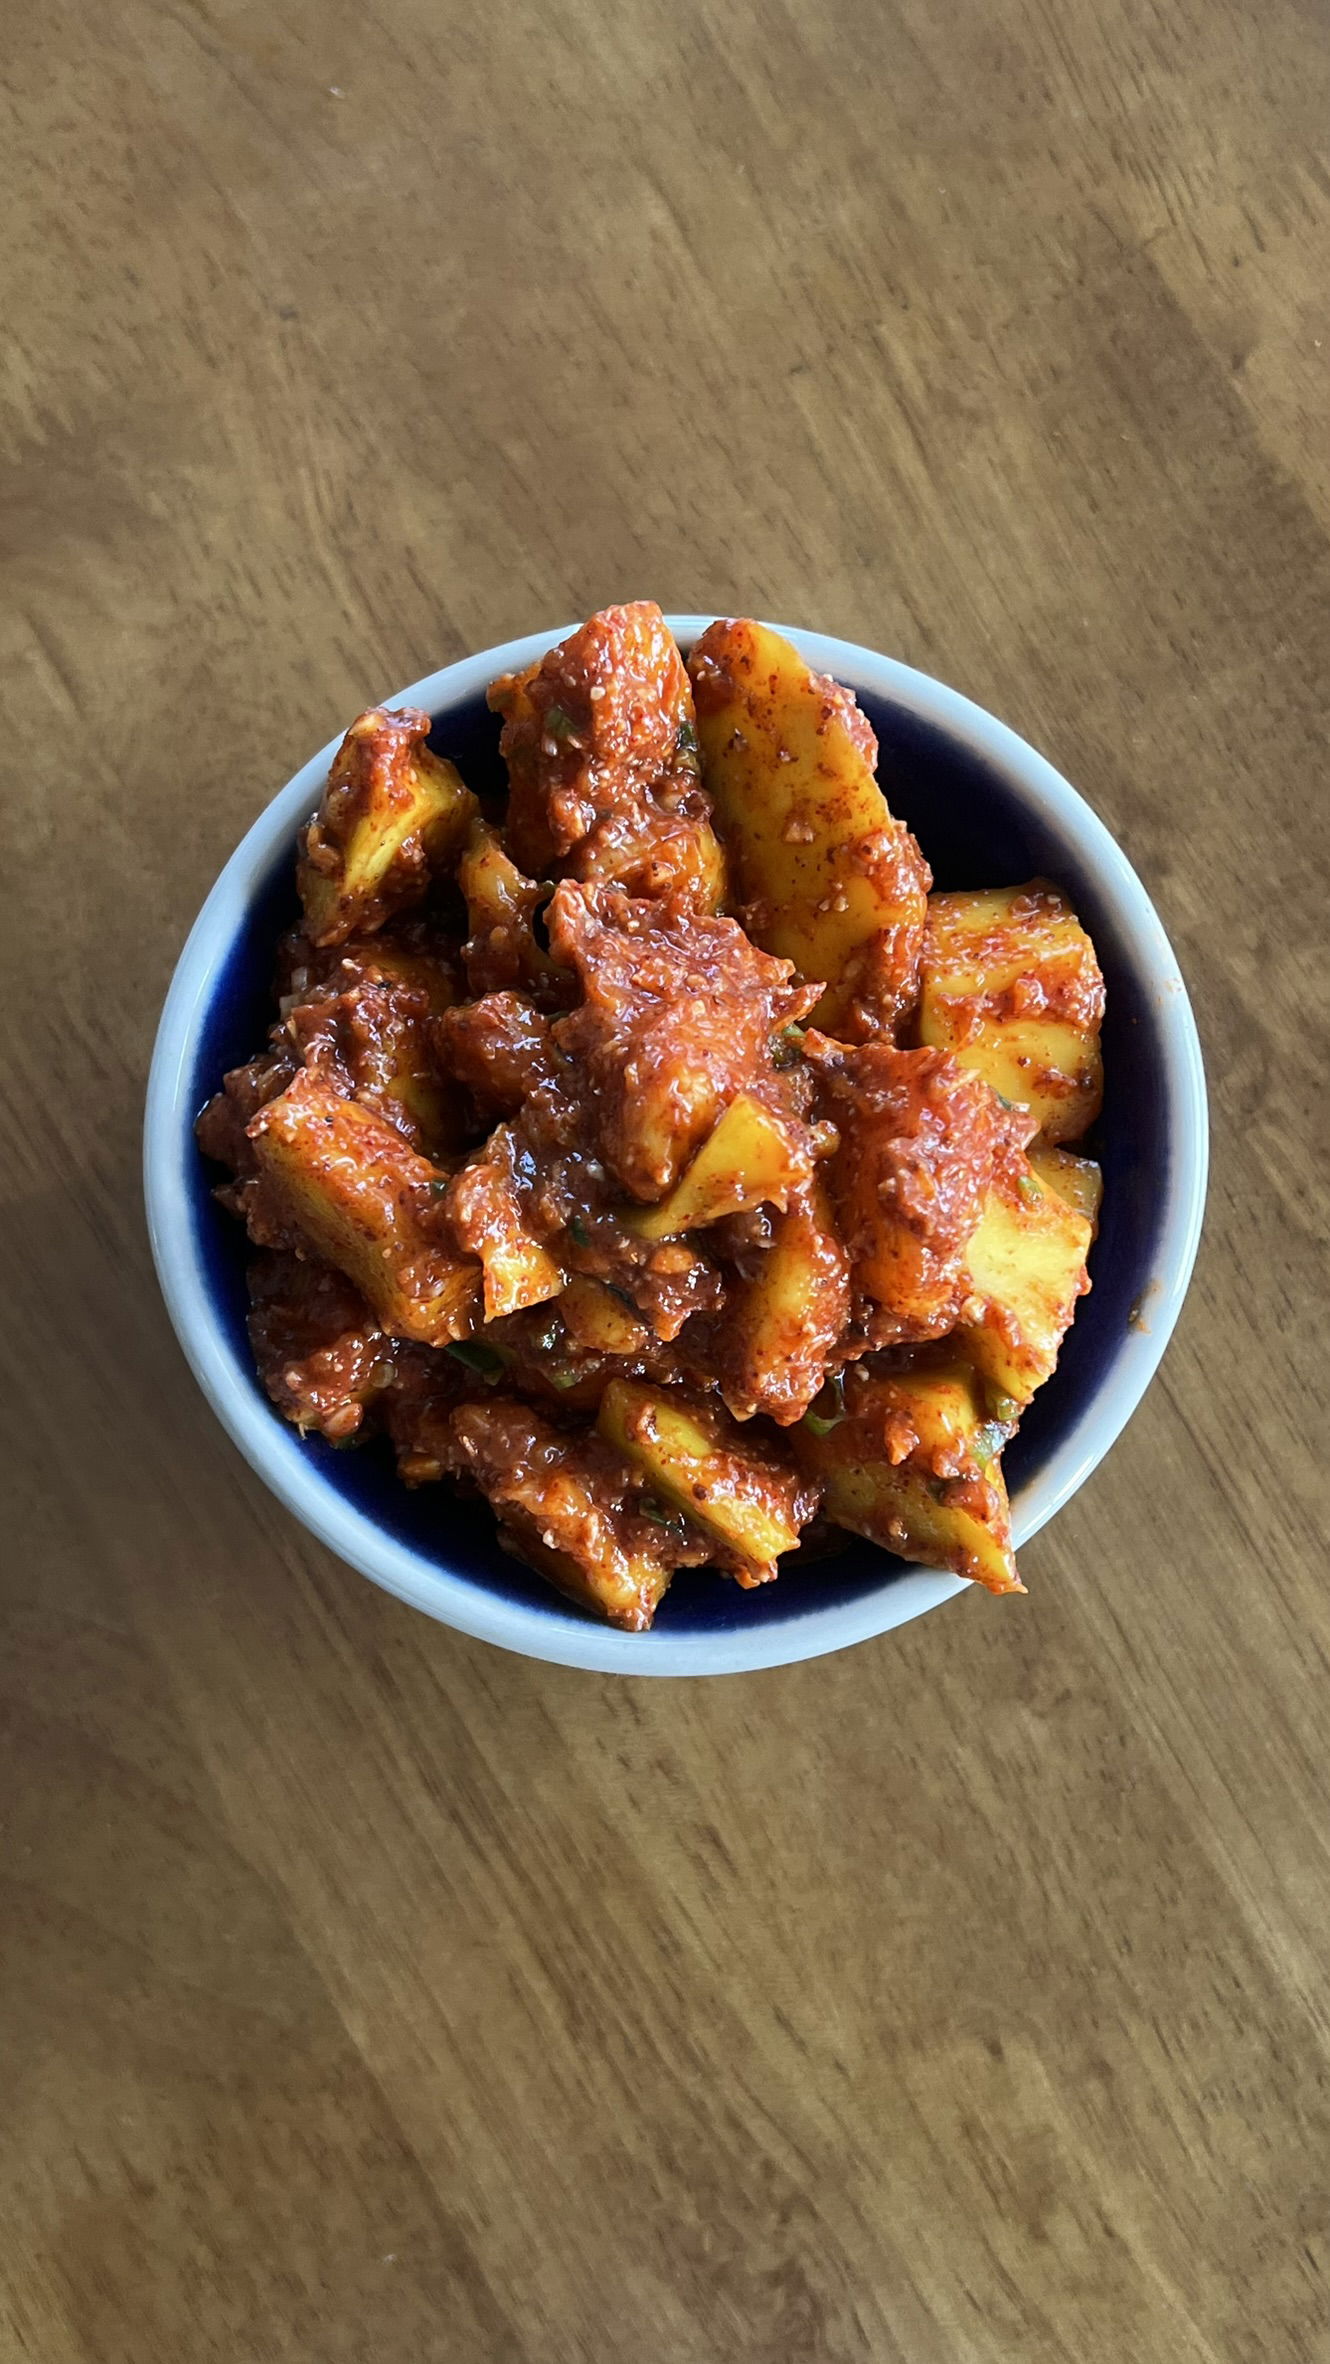
I prefer using Jasmine rice and always recommend steaming over boiling. Boiling allows the grains to absorb too much water, which often leads to poor-quality koji; steaming ensures that perfect "al dente" texture where the rice is gummy but still holds its shape.
Every setup is different, but I’ve found great success using a picnic cooler filled with warm water. Combined with an aquarium thermometer and an external temperature controller, this setup maintains the stable, humid environment koji needs to thrive.
Ingredients (3)
Ingredients (3)
Instructions
Soak 1kg rice for about 12 hours and steam till al dente - you want the rice to be gummy but not fully cooked.
I don’t boil the rice as it’ll absorb way too much water.
Once the rice is done, spread is out on a flat surface to cool. Once at room temperature, add your koji mixture - this is the flour and koji spores. I generally use a fine sieve to dust the rice in layers and stages, using my hands to ensure it’s all incorporated.
Move the rice into a shallow pan, cover with cling film and add a few holes to allow for air circulation. Insert a temperature controller.
There are pros/cons to what temperature you should incubate at based on what you ultimately want from the koji, however I stick with 30C and let this incubate for upwards to 48 hours.
During the 48 hour period, you can check on it throughout including breaking up the mycelium growth however I tend to leave it undisturbed which yields the best results for me.
After the 48 hour period, the koji should be matted, covered in white growth and smell sweet. Break it up and store in the fridge (in an airtight container) or freezer, ready for your next project!
Notes
Notes
I’d suggest getting an Inkbird temperature controller, with one insert in the koji and the other insert in the water bath.
Subscribe to get my new recipes delivered to your inbox